


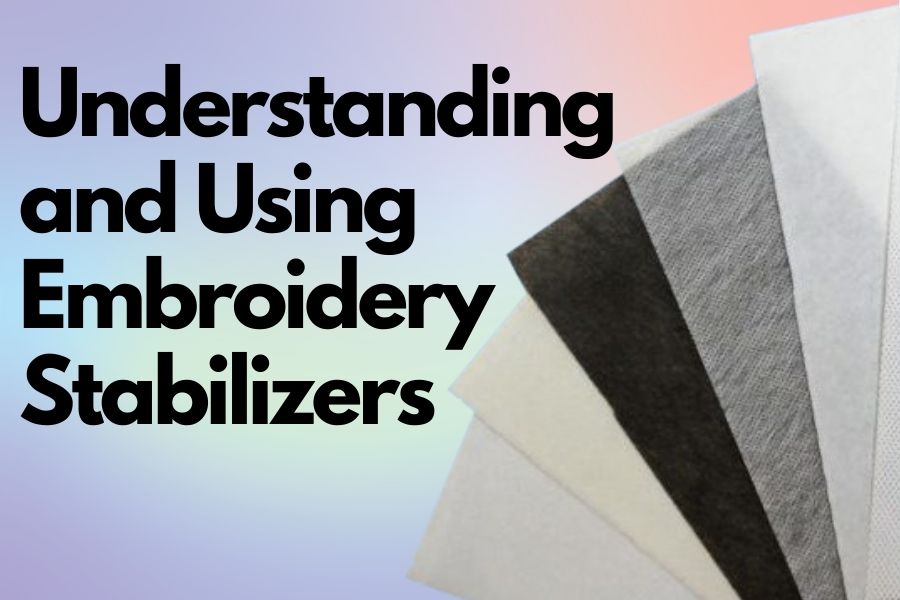
Understanding and Using Embroidery Stabilizers
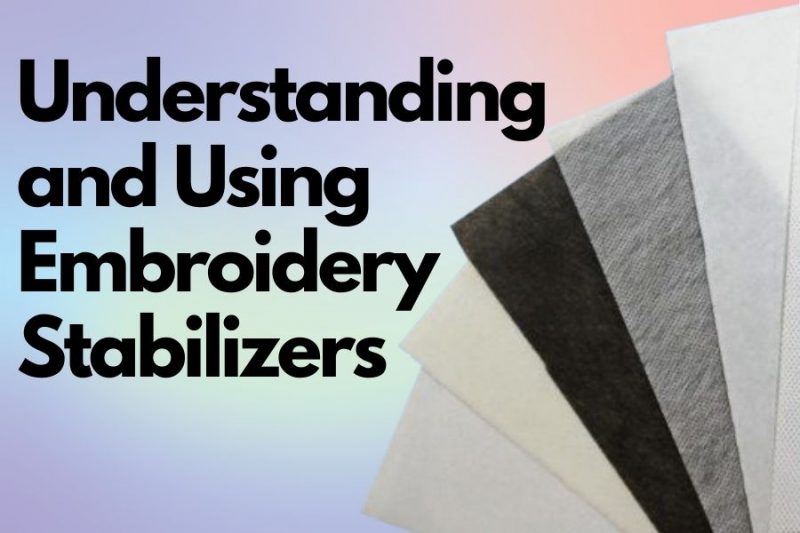
What are Embroidery Stabilizers?
Backing Stabilizers vs. Topping Stabilizers
While used in a variety of sewing applications, stabilizers are most commonly utilized in machine embroidery. When it comes to backing and topping stabilizers, their use is as their name suggests:
A topping stabilizer (or ‘topping’) is often placed right on top of the design. The primary purpose of applying topping stabilizers is to help ensure that the stitching doesn’t sink into the fabric. Topping is normally exclusively used with those fabrics that are considered more textured or stitch absorbent. The best examples of these are wool fabrics, terry cloth or towelling. Most topping stabilizers often come in types that are tear away and wash away.
On the other, backing stabilizers (or ‘backing’) are recommended to be used for almost all types of fabrics, with only a few exceptions. The backing types help the fabric to maintain its physical and structural integrity while the embroidery is being done, and can let your designs maintain their shape even after they are laundered. As a majority of the types of stabilizers available in the Australian market can be used for backing, this will be the main focus of this particular post.
The Stabilizer You Use Will Depend on Your Embroidery Design and the Material You Will Use
Before we even begin with an embroidery project, it is important to consider three factors; all of which play a big role in choosing the right type of stabilizer for your project. These factors include:
- The specific type of fabric where the embroidery will be done
- The density of the fabric
- The density of the embroidery pattern
When deciding on the type of fabric, you should note the fabric’s thread/stitch count and weave, since this will affect the thickness (and occasionally, type) of the stabilizer needed (and can affect the speed at which the machine will be able to effectively stitch out the pattern on the fabric). A general rule follows that the thinner (or looser the weave), the thicker the stabilizer. Top Embroidery Hint: If you are embroidering on clothing or items that may show a thicker stabilizer, you can use a wash away or mix and match your stabilizers to prevent this.
As for the density of the fabric, certain fabrics will only require a single stabilizer while others may need two. Standard fabrics (such as cottons, polyesters, and even denim) often only need one kind of stabilizer.
When it comes to pattern density, the general rule follows that for embroidery designs with higher density or designs covering a large area, it is best to use a thicker stabilizer. Of course, if the fabric is thin or less stable (see factor 1), it is best to apply more stabilizers.
Hint: when in doubt, lower your maximum embroidery speed slightly using your Janome embroidery machine’s settings page.
If you are embroidering on a fabric that you are unfamiliar with, it can be a good idea to use a scrap piece o the fabric and embroider out a test pattern. This will allow you to adjust your stabilization and machine settings without having to unpick or potential damage your project piece.
Different Types of Embroidery Stabilizers
This article will talk about the three primary types of embroidery stabilizers that you can use, namely wash away, tear away, and cut away. It will also discuss two more types of additional stabilizers that might be a bit less universal, including spray-on and heat away.
1. Cut Away Embroidery Stabilizers
Cut away embroidery stabilizers are the type of products that are not completely removed when the project is done. While the excess stabilizer is going to be trimmed away, the stitched upon stabilizer will permanently remain fixed to the fabric.
Many embroiderers prefer the use of cut away stabilizers, primarily due to how the final project is going to feel against the skin. Since there is no need to remove most of the material, it eliminates those jagged skins that may cause skin irritation. These stabilizers have the additional benefit of ensuring that the design remains stable throughout multiple wash cycles.
A cut away stabilizer is very versatile and is especially recommended to be used on delicate fabrics, with silk being the only exception. But, in general, cut away stabilizers are not recommended for sheer or loose knit materials; as they can remain visible through such materials.
Hint: If you are looking to use a cut away on sheer, loose knit, or generally see-through materials, try a nylon mesh or polyester cut away stabilizer that is specifically meant to remain invisible even through the types of see-through fabrics.
2. Tear Away Embroidery Stabilizers
Probably the easiest and quickest to remove out of all embroidery stabilizers, a tear away embroidery stabilizer is often attached to the back of the embroidery design during embroidery using temporary (‘tacking’) stitches and can also be torn right off. Tear Away Stabilizers are available in a selection of thicknesses are often used on heftier fabrics.
The tear away stabilizers are cost-effective and great options, particularly if you will embroider on fabrics of standard stable type.
Just remember, When removing Tear Away, the mere act of tearing might be somewhat harsh for more delicate fabrics. this can be counteracted by placing your design on a flat surface and gently removing the stabilizer while holding the design down with your hand.
3. Wash Away Embroidery Stabilizers
While their applications are limited, Wash Away Stabilizers are a staple in most embroiderers tool kits. Wash Away is typically applied as a “topping”, and are best known for its resilience, water solubility, and transparency. Often used with either sheer or more delicate materials or pieces that need constant wash and wear (such as free standing lace), they can also be used in conjunction with a Tear Away/Cut Away for towelling.
These stabilizers are best used for those instances where the project requires that the stabilizer doesn’t leave behind any traces afterwards.
4. Heat Away Embroidery Stabilizers
These types of embroidery stabilizers are your best choice if you are dealing with fussier fabrics. A heat away stabilizer is ideal for those projects that might be too fragile for a tear away stabilizer and also too sheer for a non-washable lace and cut away stabilizer.
Heat away stabilizers have two primary types, filmy backed and woven. The woven heat away stabilizers tend to flake off when heat is applied while the filmy heat away stabilizers get dissolved completely.
A heat away stabilizer is less universally applicable compared to standard tear away or cut away stabilizers since this will not offer the same level of support.
5. Spray On Embroidery Stabilizers
Spray On embroidery stabilizers are among the more contemporary kinds of invisible stabilizers that you can find and use today. These stabilizers are usually used for temporarily making the fabric stiffer without using additional material, similar to starching a pair of pants or a shirt.
Like spray starches, it is recommended to test a small amount of your Spray On Stabilizer on a scrap (or inconspicuous) piece of fabric to ensure that it does not create a stain.
Practice Makes Perfect When It Comes to Using Stabilizers
With more practice also comes understanding. When you understand things, wisdom will soon follow. You can get this wisdom from videos, books, or online but the act of doing it on your own will always be the best way for you to focus and hone your skills.
The process of trial by error might sound a bit tedious, however, this can enforce a better understanding of the types and applications of stabilizers that work for you.
It is recommended that you take note of the experiments you make using fabric stabilizers. You should also keep samples of the different types of fabric that you work on and the methods you used for achieving these results.
The next time a new project arrives, you can be sure that you will have all the tools you will need for your newest creation to be as carefree and simple as possible from the beginning.