




How To Cut Fabric for Quilting
If you are now considering taking up quilting as a hobby, it may feel intimidating when thinking about making your first quilt. But it may surprise you to learn that making such an item, isn’t as tricky as you first thought.
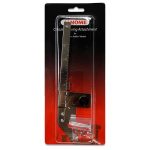
But before you go out to buy the fabric to make a beautiful quilt, there are a few tools that you will need (beyond your trusty sewing machine). The tools that will help you cut perfect squares from your chosen fabric, are:
- a self-healing cutting mat
- a rotary cutter; and
- an acrylic-quilting ruler
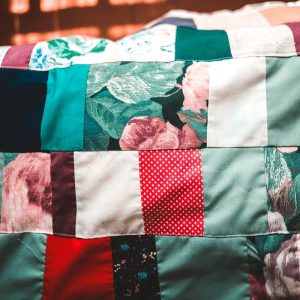
Now, that we have the tools, and have gone out and purchased the chosen fabric, you need to learn how to cut it correctly. This will then help to ensure that you create a beautiful quilt that will be made up of perfect squares of fabric sewn together using any one of the many quilting sewing machines available.
After reading through this article, you will be ready to start creating your first quilt and enjoying the hobby of quilting.
Steps To Take to Cut Fabric for Quilting
Cutting fabric for quilting may seem like an easy task at first, but there are some tricks and hacks worth knowing and steps to follow:
Step 1 – Iron the Fabric
Before you can consider cutting up your fabric to make a quilt, you must take the time to iron it. With a steam iron, you can flatten the material out completely. While this may not be the most glamorous step, you will be happy with the results!
Step 2 – Straighten the Fabrics Edge
This is the most crucial step you need to take before you can even think about cutting the material you’ve chosen into quilting squares. Sadly, the store where you purchase your fabric will not do this for you.
To create a perfectly straight edge, you fold the fabric you are using in half. The fold in the material helps to create a straight line. Then align the fold you’ve just made in line with the bottom of the cutting mat.
Next, place the quilting ruler along the raw edge of the material and then trim away any pieces that are not straight using the rotary cutter.
Step 3 – Measure Out the Squares
Once the fabric has a perfectly straight edge, you can move on to the next stage. For this example, we will be measuring out the 4.5-inch squares, that we will be using to make the quilt.
But first, you need to turn the fabric over so that the side you’ve just cut is on the left-hand side (if you are right-handed). The cut needs to be on the right-hand side for left-handed people.
Then, as you did when creating the straight edge, use your ruler and the lines on it. First, begin by lining the ruler up with the folded edge that should be closest to you. Then, make marks on the material along all the edges that measure 4.5 inches apart.
It is essential that you do this on either edge of the fabric and then lay the ruler across the material from one side to the other.
Step 4 – Cut the Fabric into Strips Then into Squares
Sometimes the fabric or the ruler may shift on the mat as you start to cut through it with the rotary cutter. Adding some downwards pressure on the cutter and ruler will prevent most movements. Additionally, you can use quilt ruler grips for added protection.
If you have found the steps provided above helpful, but still unsure what you need to make your quilt, then here is a list of quilting sewing machines you may want to consider buying.
Guest Post Author:
Isabel Engler
Being an avid seamstress, Isabel has made her life-long hobby her profession after retiring. She has her own sewing and quilting blog where she shares some tips and tricks that she’s learned during the years.