














DIY Face Mask
Make your own Face Masks
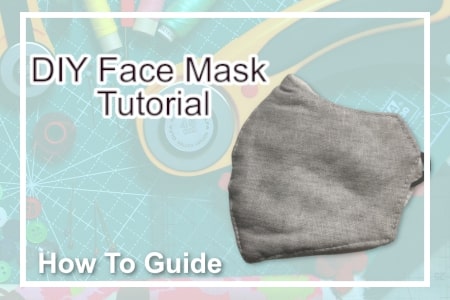
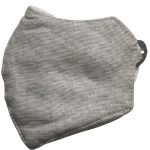 This printable DIY face mask pattern includes two commonly used sizes for men and women. With an Outer and Inner layer of fabric, and interfacing (as well as the option to an additional filter into the lining), these masks may decrease the spread of large particles*.
Disclaimer: While wearing a homemade face mask may not prevent the wearer from catching Covid-19, it can reduce the spread of expelled particles should the wear cough or sneeze. It is recommended that the wearer wash and sterilize their mask before and after use.
Material Requirement:
-
-
-
- Outer Fabric: Densely woven cotton (prewashed and preshrunk) 7” x 14” (17.8cm x 35.6cm)
- Inner Fabric: Densely woven cotton (prewashed and preshrunk) 7” x 14” (17.8cm x 35.6cm)
- Interfacing: Non woven (light weight) interfacing 7” x 14” (17.8cm x 35.6cm)
- Earloops: 16” (45.6cm) of 1/4” flat elastic (or tubular mask elastic)
- Nose Wire: flat jewellery wire, florist wire, or cut out the wire piece from a disposable mask
Additional Requirements:
- Janome Sewing Machine
- Janome Size 14 Needles
- Good Quality Thread
- Dressmaking Shears
- Fabric Marker
- Iron
- Pins / Safety Pins
- Wonder clips (Optional)
- Bodkin (Optional)
-
-
Method:
- Cut out the inner and outer fabric pieces (2 x each) and the interfacing and lining pieces using the template as a pattern.
- Fuse the interfacing the inner-side of both outer fabric pieces.
- Stitch the outer pieces together on the centerline (on the back of the fabric). Repeat for the inner pieces.
- For both the inner and outer pieces, secure the curves with heat resistant pins/ wonder clips and iron the seam to one side and topstitch 1/8” from the centre seam.
- Fold the edges of the lining on the fold line to the wrong side (thereby hiding the raw edges) and press flat and edge stitch the pieces to hold it in place.
- With both the inner and outer pieces, hold them together (with the wrong side of each facing outwards), matching the centre stitching. Then stitch the top and the bottom edge (leaving the side edges open). These sides should extend approximately 1 inch beyond the inner lining.
- Turn the fabric right side out and press flat.
- Flatten the top and bottom by topstitching a 1/8” from the edge.
- To make the casing for the elastic ear loops, double fold the sides ¼” to the wrong side (so that the folded edge of the side meets the inner lining. Pin/Clip in place before stitching. Ensure that the top and bottom of the casing is open so that the elastic can be inserted.
- Cut 2 x 8” pieces of elastic and feed it through the casing on each side. Note: To make this easier, we recommend connecting the edge of the elastic to a bodkin (or safety pin to assist in pulling the elastic through.
- Stitch the elastic together (about a quarter inch from the ends) and then slide the elastic around until the seam is hidden inside the mask’s casing.
- Mark out the width of the nose wire piece approx. 3/8” down from the top edge of the mask.
- Stitch down one side of the markings and across the length of the nose wire.
- Insert the nose wire into the open side and then stitch closed.
Nose Piece (Optional)
Download the Face Mask Template
When printing the Face Mask Templates out, we recommend using Adobe Reader and printing the sheets at 100% (no scaling).To ensure that the size of the templates is correct, measure the 1-inch gauging box (and make adjustments as required).