


Handy Sewing Hints Leave a comment
Handy Sewing Hints
Maybe we are just getting back into sewing, or are setting up for our very first project – no matter what level our sewing, it’s important to work smarter not harder. As sewists we know the importance of sharing tips and tricks to make sewing a breeze for everyone. Here are some handy hints to make sure you’re set up for success!
USE THE CORRECT NEEDLE
 What needle are you using right now? Using the correct needle in your sewing machine will prevent skipped stitches and premature needle wear, giving you the best finish possible. Needle selection is based on two factors: the type of fabric/material that you are sewing, and the thickness that you are sewing though.
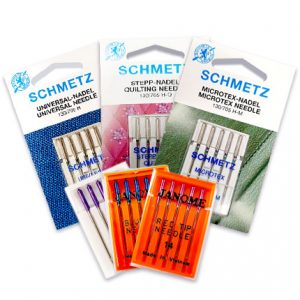
There are different types of needle for different types of fabric. Here’s just a small selection of what’s available:
- The universal or sharp needle is made for woven fabrics such as cottons, polyesters, damask, etc.
- The stretch or ballpoint needle is made for knit fabrics or those with stretch in them (like a lot of modern fabrics). The ball-point needle pushes the yarns aside, instead of piercing them.
- The denim needle has a chisel point to pierce heavy close woven fabrics.
- The leather needle is similar to a denim needle with an additional coating in order to minimise friction when sewing through thick work.
- A twin needle features 2 needles attached to the one shaft, so it goes into your machine as one needle. This is ideal when you require two even rows of stitching, such as the hem of a t-shirt. Twin needles come in sharp, stretch and leather.
The correct size of the needle is determined by the weight of the fabric. A chiffon or silk is very light and you would only use a size 9 or 11 needle. For most cottons, a size 12 or 14 is suitable.

With Janome needles, the top of the needle (known as the “shank”) is round on the front of the shaft and flat on the back, so that it cannot be inserted backwards without force. On the front of the needle there is a groove running down the length, and on the back a cutout section called the ‘scarf’. Find the groove by running your fingernail down the needle. When the needle is in the machine correctly, the thread will travel down the groove and through the eye (from front to back).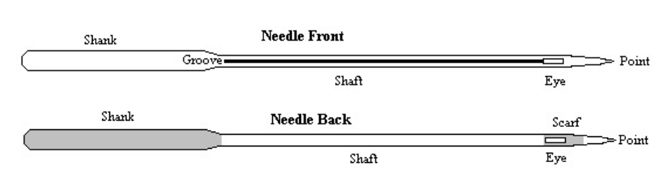
Needles do go blunt through general wear and tear, so be sure to replace your needles every 6-8 sewing hours, or as a good rule before any new project.
SCISSORS
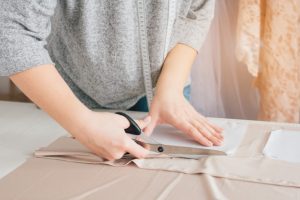
A good pair of dressmaking shears (or fabric scissors) are a sewer’s best friend. Just remember the golden rule, Fabric Scissors for fabric and general scissors for everything else. The reason that rule is so important is that prolonged use on paper or cardboard (or even metal) will cause your blades to blunt on the scissors and will make cutting fabric extremely difficult. Cutting anything adhesive like sticky-tape or stick-on velcro can also gum up your scissors so be extra diligent and your shears will last a lifetime!
INTERFACING
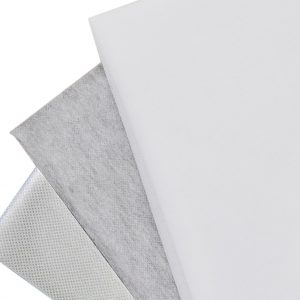 If you’re collars are turning out a bit limp – always use interfacing for collars and cuffs or when buttons or buttonholes are being used. This re-enforces the fabric and gives it strength. Also on stretchy fabrics, cotton tape can be sewn into the seams to reinforce and prevent garments from falling out of shape.
PINNING
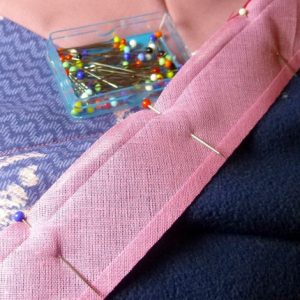 Pin everything! Don’t presume you can lay the two pieces of fabric together and sew them evenly. You will find that the feed dogs on the machine will feed the bottom layer of fabric faster than the top layer and you will finish with one piece too short. By pinning regularly, you lessen the chance of that happening.
BASTE YOUR FABRIC
If your fabric is super slippery or pins create too much of a bump in your project, try basting your fabric in place before the final sew. This is also a bit more friendly when trying on garments-in-progress and avoid any nasty pin-pricks.
CHECK THE POSITION OF YOUR SPOOLS
Many thread spools have grooves, notches or slits in their base to hold the loose end for tangle-free storage. This can be less helpful if the thread is moving from your spool through your sewing machine and gets caught! Simply check your new thread spools for any of these obstructions when threading your machine.
Happy Sewing!