










Sewing Project: How to Sew a Pencil Roll
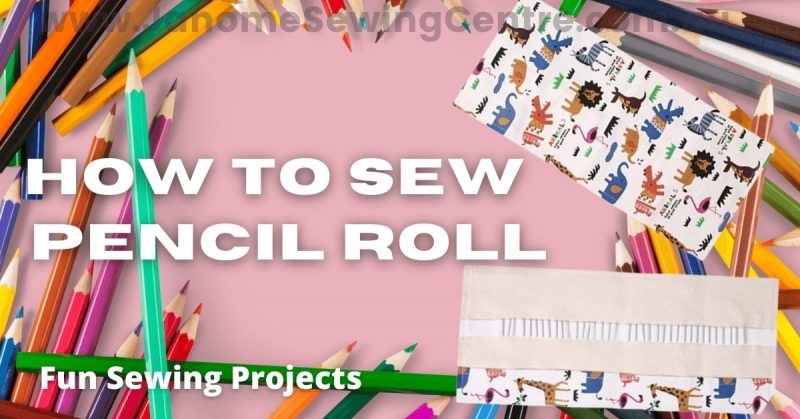
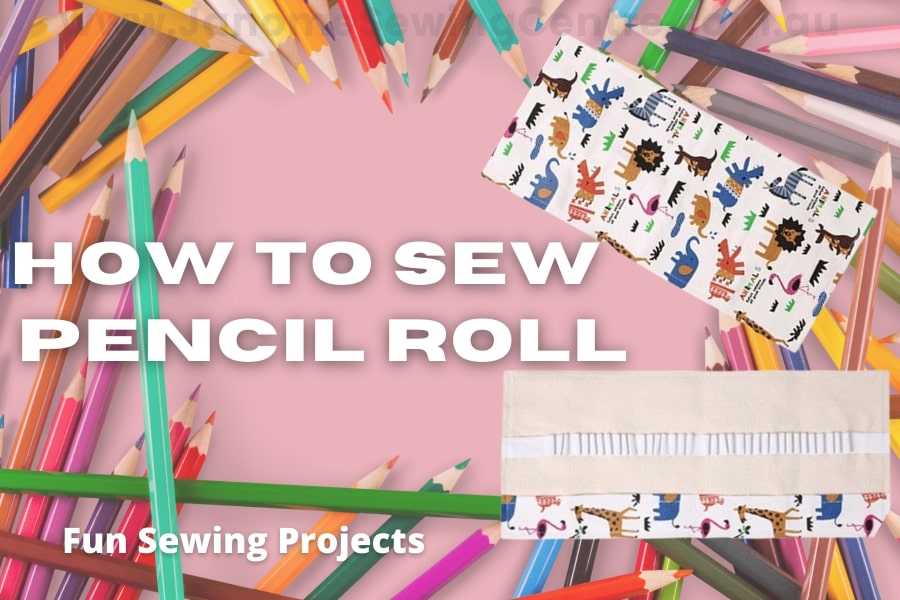
If you or your kids are noticing that the pencils in the pencil case are getting knocked or broken, why not create a funky pencil roll to keep your colours safe and accessible? Holding 25 pens/pencils, this quick and easy sewing project can be customised to suit your style.
Requirements
- Fabric
- Outer Roll – 50cm W x 29cm L
- Inner Roll – 50cm W x 25cm L (Optional)
- Elastic – 49cm
- Calico – 25cm x 50cm L
- Iron On Pellon – 25cm x 50cm L
- Fat Quarter for ties and binding
- Chalk Pencil or fabric marker
- Ruler
- Sewing Machine
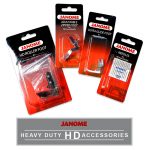
- Even Feed Foot (Walking)
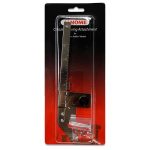
- Ditch Quilting Foot
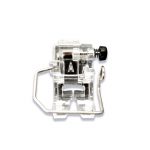
- Standard Zigzag Foot (A Foot)
- Pins
- Basting Spray (Optional, recommended)
- Cutting Mat (Optional)
- Iron
Preparation
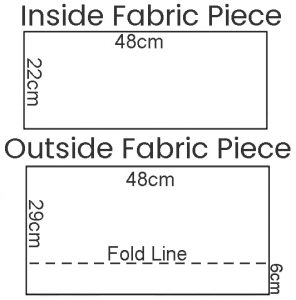
- With the Inner Roll, Cut 1 piece 8 ⅗” x 19” (22cm x 48.3cm)
- From the calico cut one rectangle 8 ⅗ x 19”
- From the fat quarter
- Cut 2 strips 1 ½” x 16” (Fabric ties)
- Four strips 2 ½” x width (For binding)
Instructions
- With a marking pencil or chalk, mark out the fold line on the right side of the fabric. Then fold the fabric and with a hot iron press the fold.
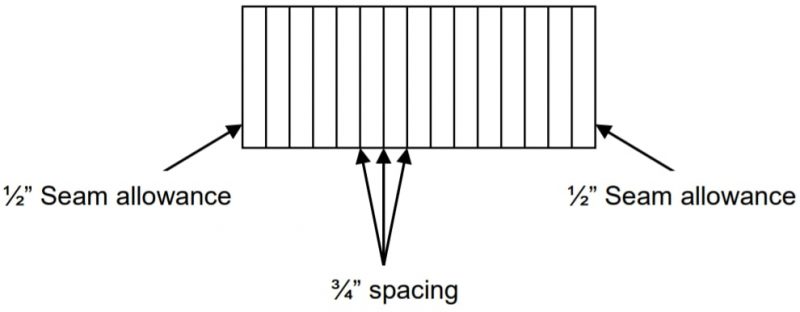
- Using the same marking pencil or chalk and a ruler, rule lines across the width of the calico and inner roll, from one edge to the other. Start ½” in from one short edge and rule lines every ¾”. This should give you 25 ruled lines, each with a ½” seam allowance.
- Layer the pellon (or substitute thin batting) onto the calico.
- Place the outer roll (right side down) on a flat surface. one rectangle of main fabric right side down on a flat surface. Place the calico on top of the roll (batted side down), aligning it to the top of the fabric. This can be stabilized with either quilt basting spray or pins. You now have a three-layered ‘sandwich’. inner fabric roll, Calico, batting & outer fabric roll.
- Fold one strip of binding fabric in half and press. With the Sewing Machine, apply the binding onto the exposed bottom edge of the outer roll (this will become the pocket for the base of the pencils).
- Turn the sandwich over so that the calico side is facing up. Using the walking foot machine sew along each of the lines you ruled from one edge to the other. Start in the middle and work out to the side edges.
- Pin or baste the inner roll (right side up) to the batted calico (aligning to the top). *This step can be skipped if you want to use the calico on the inside.
- Pin the pocket so that it is flat against the sandwiched layers
- With the marking pencil and ruler, measure 8 cm from the top sandwiched edge and pin the elastic starting from left to right (keeping a slight tension on the elastic). Where the elastic crosses the marked lines, sew a tacking stitch on the elastic. Start in the middle and work out to the side edges.
- Fold a press the ties and stitch them closed.
- Stitch under the edges of the roll to hand the fabric and pocket in place
- Position the tie on one side near the middle (just over the edge)
- Fold the remaining binding in half, then apply, pin and sew the binding around all edges.
Easy Variations to the Pencil Roll Pattern
- Ties:
- Instead of using binding for the ties, try a thin cotton cord
- Edges:
- If you are using calico as the inner fabric, you can forgo the binding and instead hem each piece before your sandwich the layers.
- Pocket and Elastic:
- If you extend the “pocket” and stitch lines every ¾” to hold your pencils without using elastic.