


Wine Tote Bag – Fun 10 Minute Sewing Project Leave a comment
Wine Tote Bag – Fun 10 Minute Sewing Project
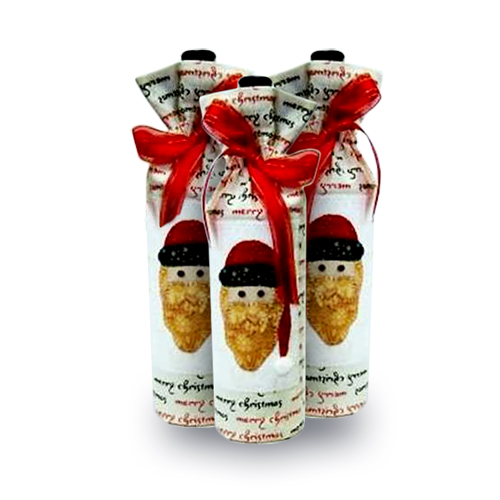
Gifting a bottle of wine can be a simple (and thoughtful) gift for friends and family. However, if you are like me, the standard gift bag is not nearly as personalised as it could be. With that said, we have an easy project that will have your friends and family talking all day!
With Christmas just around the corner, it is never too early to get a start on the Christmas sewing, and what better way to start than the Wine Tote Bag! By itself the Wine Tote Bag Sewing Project is quick and easy for your Janome Sewing Machine; and if you are luckily enough to have a Janome embroidery machine (like the MC400e, MC500e, MC550e, MC9850, Skyline S9, or Continental M17) then instead of appliqueing a design onto your Tote, you can stitch out an embroidery pattern instead.
Requirements:
-
-
- 33 X 38cm Print Fabric (Outer bag)
- 15 X 15cm Print Fabric (Outer Bag) for circle base
- 13 X 38cm rectangle of contrast Fabric (Lining)
- 10 X 15cm rectangle of pale fabric (appliqué backing)
- Various scraps of fabric for appliqué
- 50cm organza ribbon
- Water erasable marking pen
- Ruler
- Matching sewing machine thread
- ¼” Seam Foot
- Button Hole Foot
- General sewing supplies
- Double sided fusible web (Appliqué Only)
- Fusible interfacing (Appliqué Only)
-
Method:
1. From the main fabric, cut a rectangle 10½” wide X 12½” deep. Trace the bag base circle onto template plastic and cut out. Trace the template onto the remaining main fabric, and cut it out on the line. From the contrasting fabric, cut a rectangle 4½” X 10½”.
2. Fold the main fabric rectangle in half and finger press a crease to mark. Measure 2” from the bottom edge of the appliqué background on this line, pin to hold, then sew around the edge with matching coloured thread.
3. Measure 2¼” and 3” down from the top edge and mark lines across. These lines will create a casing for your ribbon. Measure ½” on either side of the centre crease and mark. Sew a buttonhole between the casing lines at these marks.
4. Position the contrast fabric rectangle at the top edge of the main fabric, right sides together, then sew along the top edge. Fold-out and press the seam flat. On the opposite raw edge of the contrasting fabric sew zig zag stitch.
5. Fold the joined fabrics in half, right sides together and aligning the seam, and sew to form a long tube. Leave the tube inside out and sew the base circle into the bottom of the tube. With the bag still inside out. Fold the contrast fabric down to the seam and press flat.
6. With the machine foot inside the bag sew around the bag on the marked lines to create the casing.
7. Turn the bag right side out, Thread your ribbon through the casing. Slip a bottle of wine inside your tote and tie the ribbon in a bow – Now you’re ready to present a wonderful homemade gift!