Nestled in the central suburbs of Brisbane, Janome Sewing Centre Everton Park was established in 1980, and continues to operate with a focus on helping customers achieve their sewing dreams. The family has been in the sewing business for more than 60 years and love seeing what people create with their machines. Read more about us here.
With our Product range you will find Professional Grade Quality and Modern Functionality at Great Value. Don't forget to take a look at our additional Free Bonus Gift offers.
Overlocking is an essential part of professional sewing, and with these domestic machines you can sew long lasting, neat professional finishes to your garments and accessories today.
Nothing adds a more personal touch to any work than fine embroidery. From monograms and logos to custom designs and elaborate patterns, embroidery can definitely make your work stand out.
Sewing on strung beads and pearls has always been a tedious task! But the beading foot add pleasures to embellishment. Popular for bridal wear, evening wear, smart/casual or crafts.
If you're searching for a part or product and just can't find it, get in touch! One of our helpful team members is available to assist you. We'll help you find the right items to get you up and sewing soon.
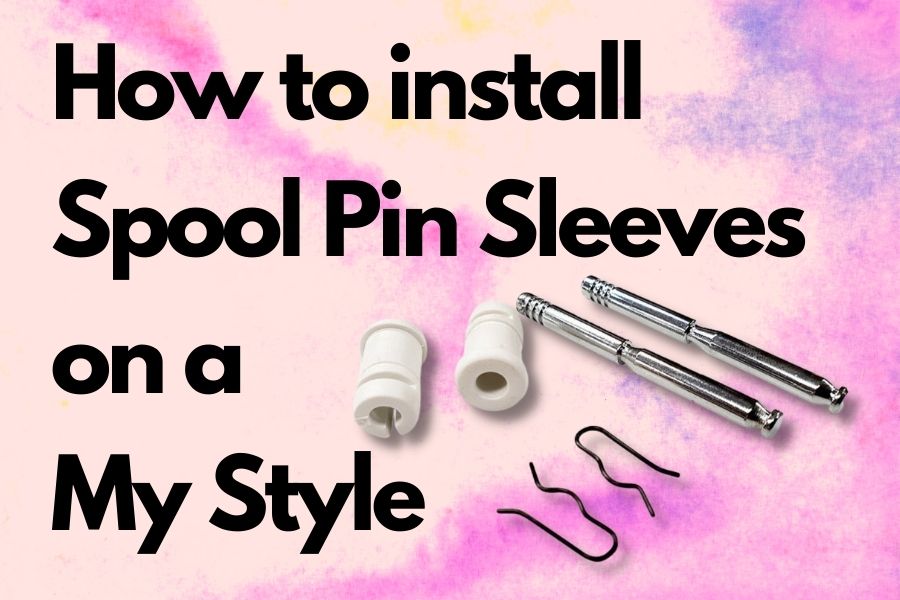
Have the spool pins on your machine vanished? When it comes to the Janome My Style, after 15 to 25 years, the two metal spool pins can disappear as the spool pin sleeves can become brittle with age and UV exposure. However, this is easily replace at home can be done with a phillips screwdriver. This guide will explain what you need to to put the spool pins into the Janome My Style and the steps involved. Whether you have a Janome 652, 653, 654, or 655, this guide will have you sewing again!
Parts Required
To replace the spool pins, the following items are needed:
*The Spool Pin and Clips may not need to be purchased as they may be located inside the machine. To check if this is the case, follow the “Preparation” Steps below.
To add all parts the Spool Pin parts to your cart, click on the button below:
Preparation
When the original spool pin sleeves crumbled, the Spool Pin and Spool Pin Clip would have fallen into the machine. By removing the top cover, laying the machine on it’s back and gently agitating the machine while tipping the machine over, these parts should come out. If there is a pin or clip that is side cover and repeat the process. Please note: as the Spool Pin Clips are small and flat, it is not uncommon for them to slip out of the machine from general use and could be located on the sewing surface.
Installation of Spool Pins on a Janome 652
This guide will go through the process of installing your new Janome Spool Pin Sleeves into your machine.
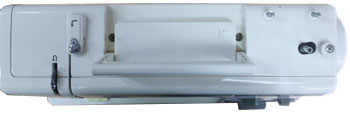
Step 1: Remove Covers
Using the screwdriver, locate and unscrew the two screws on the top cover (underneath the handle). Once removed, lift the handle and pull the top cover off with an up and slightly right motion.
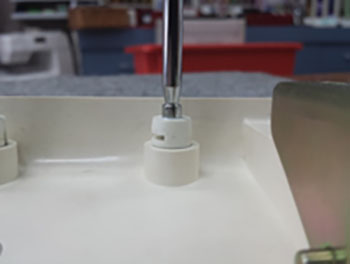
Step 2: Clean Spool Pin Holes and Position
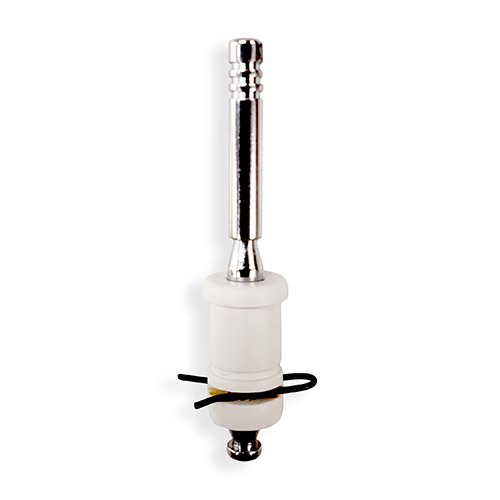
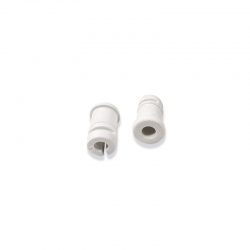
Remove the perished sleeves and place the new Spool Pin Sleeves in the two spool pin access points.
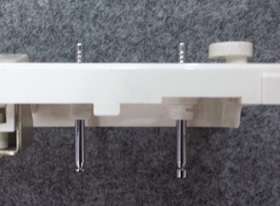
Step 3: Insert the Spool Pins
Insert the Spool Pins into the Spool Pin Sleeves with the three “ridges” facing upwards.
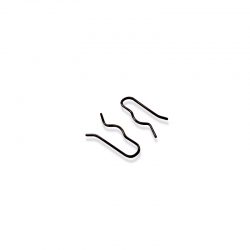
Step 4: Insert the Spool Pin Clip
From underneath the top cover, slide the spool pin clip into the slot on the sleeve with the flat side in the slot. For easier placement, use a good pair of tweezers.
Step 5: Reassemble the Machine
Place the top cover on the machine and position it into place by moving it down and slightly to the left. Then with the screwdriver, tighten the two screws that are underneath the hand bar.