


Tips & Tricks For Quilting Basics Leave a comment
Knowing some tips and tricks for quilting basics is great to learn to learn whether you are a seamstress, a quilter or a just an individual looking to do a couple of do-it-yourself projects. But before going into the details of quilting, it would be better of course if you would check whether you have these tools or not.First you will need your sewing machine, a good pair of shears (and a rotary cutter, if available), a cutting mat, a ruler, a seam ripper (I also recommend Clover Seam Rippers), and thread snips (just in case you will be cutting a thread).
And always remember that in quilting, measuring is just as important (if not more so) than cutting; as not accounting for your seam allowances, you might find that at the end of your quilt, that you queen sized quilt is only fits into a baby’s bassinet.
As importantly, knowing how to use these tools correctly and the best way to cut your fabric are just the tips and tricks for quilting basics is basic sewing and cutting.
In cutting a fabric, for easy purposes, you iron your fabric but first fold it based on the way on how you want it to look like after cutting so that the lining formed will be your guide in cutting. After which, you can place it on the mat. Then place your ruler, above the fabric. Do this for the purpose of squaring up the edges of your fabric.
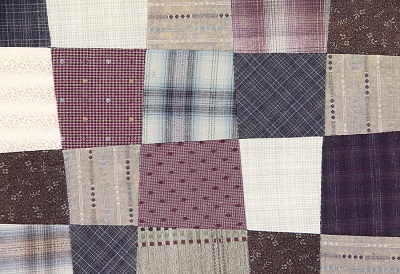
With a rotary cutter, cut the edge along the clear ruler and after that you already have straight edges on your fabric. Do the same process on the other sides of your fabric if you want to square it up. After squaring up, you might want to cut your textile into strips and squares.
For that, you will need the same materials. First place your textile into the mat, which is by the way self-healing, and then if you want your strip to measure 3” then position your clear ruler into the third line and again, using the rotary cutter, cut it along the edge and there you go, you already have your 3” strip. For square pieces, do the same according to your desired sizes.
With quilting, the standard allowance for the seam is ¼”. However, you have the option to increase it to ½”. The next big thing that you need to do is to join those patches or strips that you have made with of course a seam allowance of ¼ or ½.
You have the option to decide whether to make it as long or as short as you want. So much for tips and tricks for quilting basics, now that you have learned the basics and have liked it, you can now step on the advanced tutorials.
Remember that the most important part of quilting is to have fun!